Column Data Mapping (CSV/Excel non-investment accounts)
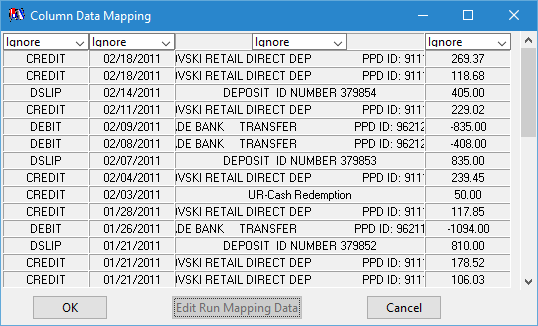
The idea here is to tell ImportQIF which columns to use for what purpose. The minimum columns needed are the date, payee, and the amount (There is an option on the Options tab not to require the payee). Given the wide variety of possible data there are quite a few choices for columns and they must be selected with care.
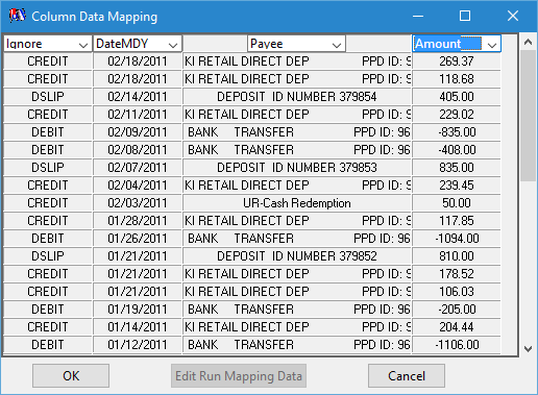
Here it is with all the columns properly selected.
Here it is with all the columns properly selected.
Once you select the OK you will be returned to the Setup tab.
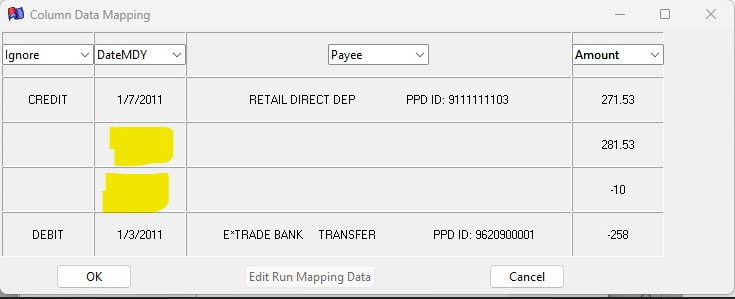
Here is an example that has a split transaction.
The main things to know is that the first line has the total for the transaction, and that the split lines don't have a valid date in them. For instance, the split date field can be either empty or a S.
Here is an example that has a split transaction.
The main things to know is that the first line has the total for the transaction, and that the split lines don't have a valid date in them. For instance, the split date field can be either empty or a S.
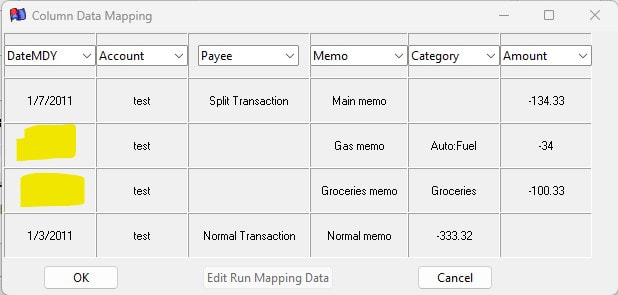
Here is an example that include the account name column. Note that the account name has to be on all the lines, including the split lines.
Here is what it looks like after importing into Quicken.
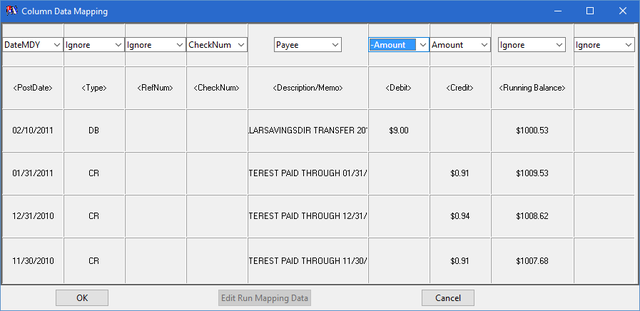
Here is a more complex mapping example.
Notice below that we have three columns with amounts in them. The running balance is not needed, so we ignore it, but you will notice that the <Debit> column has a positive number in it, and it should be a negative value in the actual QIF transactions. You can indicate this with the –Amount column type. The –Amount column type inverts all the values in the column so the $9.00 becomes -$9.00. If the value had been -$9.10 it would have become $9.10.
Please note that the line of <PostDate>, <Type>, ... is in the actual data given from the financial institution and ImportQIF will skip over lines of data like these that don't match the number and columns of data you said to match.
When you press OK you will be returned to the Setup tab.
Special note about using the “Balance” column mapping. It is for the running balance but is only used if the output format is QFX. For this use case it will set the Online Balance/ledger balance in the QFX to the balance of the most recent transaction in the data. If you use the Balance column mapping/QFX mode be sure to check out the documentation on the “Balance is Reversed” option on the Setup tab.
Here is an example of “Mint Intuit” data, where they use a transaction type to decide on the
sign of amount.
This data was generated by going the Transactions tab on Mint then selecting an account to download. And then at the bottom right of the transactions select Export all XXX transactions. This will export to a CSV file.
sign of amount.
This data was generated by going the Transactions tab on Mint then selecting an account to download. And then at the bottom right of the transactions select Export all XXX transactions. This will export to a CSV file.
What is different for this “Mint” data is that there are transaction type and account columns. The transaction type column has credit or debit. It determines the sign of the amount in the amount column. When you tell ImportQIF that the column is a transaction Type, ImportQIF might not know what words or abbreviations will be used for positive or negative. Instead it puts that decision off until you actually run the conversion, and at that time it will ask you if what each word in that column means.
Please note in current version of ImportQIF it is programmed to understand what debit and credit means, so these dialogs will not come up for these. But if they use other terms ImportQIF will ask if the values have to be made negative as shown below.
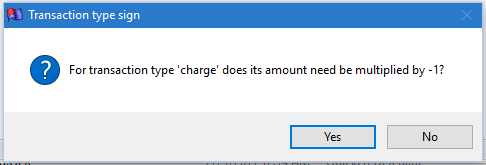
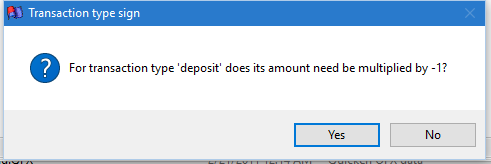
Here are examples of the dialogs you would get when you run the conversion for data where they used charge and deposit:
The proper answer for above is Yes.
The proper answer for above is No.
You can use the Account column to decide what account to import a given transactions into. You should make sure you have created the accounts in Quicken before importing. If they are created by the QIF file import, they might not have the right account types. The Map Accounts option on the Setup tab must be on to get ImportQIF to use this column.
Once this run type data has been stored, the Edit Run Mapping Data button will be enabled.
If you select the Edit Run Mapping Data button you can edit these values as documented in Edit Run Mapping Documentation.
The Filter column like the type column is a bit different, so I will describe what it does here.
Say you have a column that has the transactions status in it like pending and posted and you are only interested in the posted transactions. If you use Filter for this column’s mapping it will work like the Type column mapping described above, except ImportQIF will be asking if you want to ignore transactions that have the given filter data in that column.
For the next part of ImportQIF to look at the Options Tab.
